Free Embroidery Pattern and Embroidery Tutorial
Do you want a free daffodil embroidery pattern? Scroll down to the end of the post for a free pdf embroidery pattern to download. I digitized a vintage embroidery pattern that I found, and I have a few more that I’m working on, so keep an eye out for future posts if you like free embroidery patterns. The top of the post will cover some tips for free motion embroidery on a sewing machine. You can sew this pattern by hand as well.
Disclosure: This post contains affiliate links, which means I may receive a percentage if you make a purchase using these links. This won’t cost anything extra to you. See my privacy policy for more details.
Transferring Your Pattern to the Fabric
To transfer the pattern to my fabric, I used Sulky’s Sticky Fabric Stabilizer and the technique described by fellow blogger Swoodson Says for transferring your pattern using this stabilizer and a printer.
The fabric stabilizer comes in sheets that are the right size for your printer, so you can print your pattern, remove the adhesive backing, and then stick it to your fabric right where you want the design to be. The stabilizer will dissolve when you wash it, so you won’t be left with any of the pattern markings—just your stitches.
Setting up Your Machine for Free Motion Embroidery
In this video, I'll cover all of the tools that you need to get started with free motion embroidery.
If you can’t see the video above, check out the version I put up on my Youtube channel: Getting started with free motion embroidery.
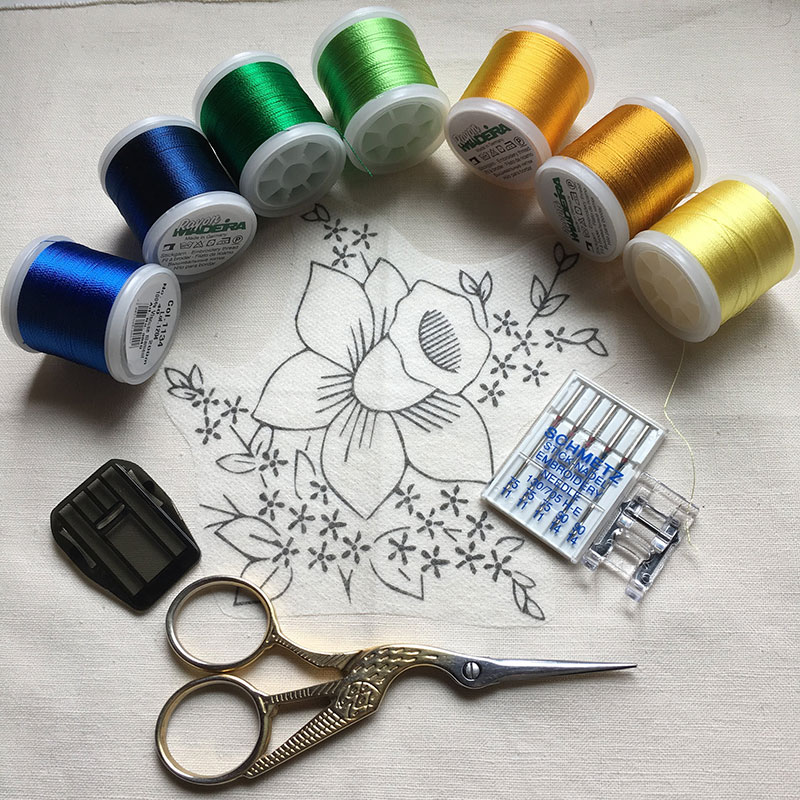
Materials and Tools Needed
In the video above, I used a tear-away stabilizer as well as the Sulky transfer paper, but the Sulky paper also bills itself as a stabilizer, and I had a little trouble removing the tear-away stabilizer, so I think I might not use the tear-away one next time.
I’m embroidering on a linen placemat that I got at a thrift store. Thrift stores often have nice plain placemats, napkins, runners, and so forth to embroider upon. It’s cheaper to buy these things at a thrift store than to get them new, and the quality is often just as good. See my post about how to find cheap fabric for more tips on finding cheap fabric and linens.
The presser foot set shown below has the embroidery foot that you need. Also shown are the embroidery needles and the set of thread I used (although see my note below about how the thread lost some of its sheen when I washed it).
How to Do Free Motion Embroidery on Your Sewing Machine
In this video, I'll demonstrate how to do free motion embroidery on your sewing machine while following a pattern you've copied onto your fabric.
If you can’t see the video above, check out the version I put up on my Youtube channel: Free motion embroidery demonstration.
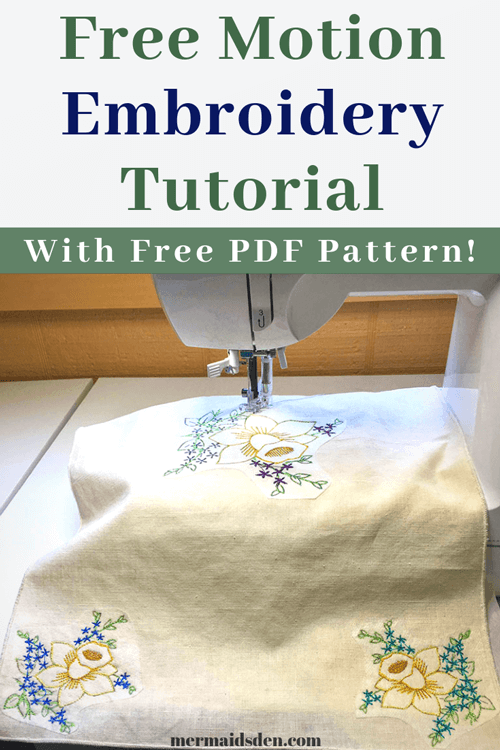
If you prefer written instructions, basically, you need to drop your feed dogs or cover your feed dogs. The feed dogs move your fabric steadily forward as you sew. For free motion embroidery, you will use your hands to guide the fabric.
This takes a bit of practice, so you might want to start with a piece of scrap fabric to get the feel for moving the fabric around yourself. Don’t shift the fabric while the needle is down. Wait until the needle is completely out of the fabric to move the fabric. Go slowly at first to get a feel for the rhythm of moving your fabric after every stitch.
And don’t forget that you can not only go forward, but also backward and side to side. At first, I found myself stopping and pivoting on the needle when I needed to change directions, rather than just going in a new direction. Old habits die hard when you’re used to sewing with your feed dogs engaged!
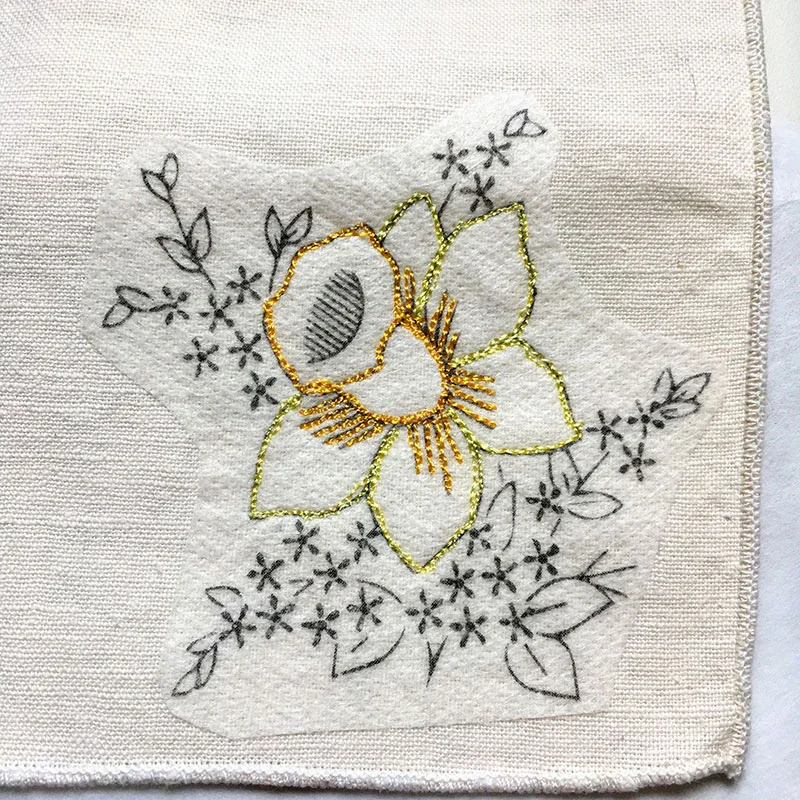
I started by outlining the daffodil, and I went over each part of it twice, just to have a little more definition to the outline and also to cover up any mistakes.
To lock your thread in place at the beginning, sew a few stitches in place before starting to move around. I sew each color continuously, just going back and forth across each line multiple times to get to the next part. You don’t have to cut your thread and start anew for each area.
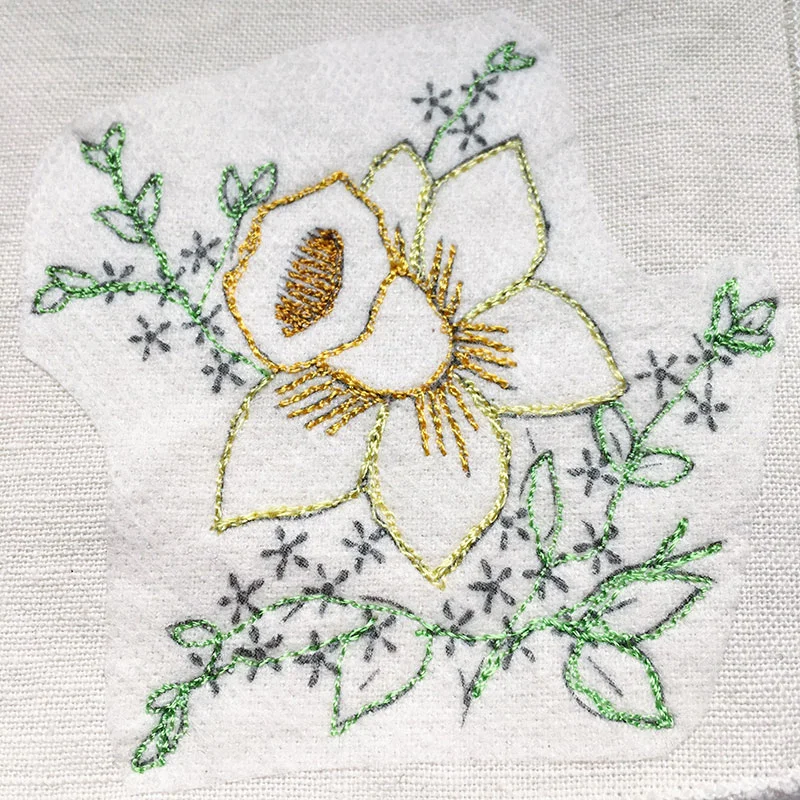
Here’s how it looked after I started to fill in the leaves. There weren’t any lines between the leaves, but I didn’t want to start and stop between each section of leaves, so I just drew stems between the leaves.
Here’s how it looked after I filled in the small flowers. Again, I didn’t want to start and stop, so I just lifted my needle and moved the fabric to the next flower once I was done stitching. This, of course, leaves strands between each flower, but we’ll take care of that in the next step.

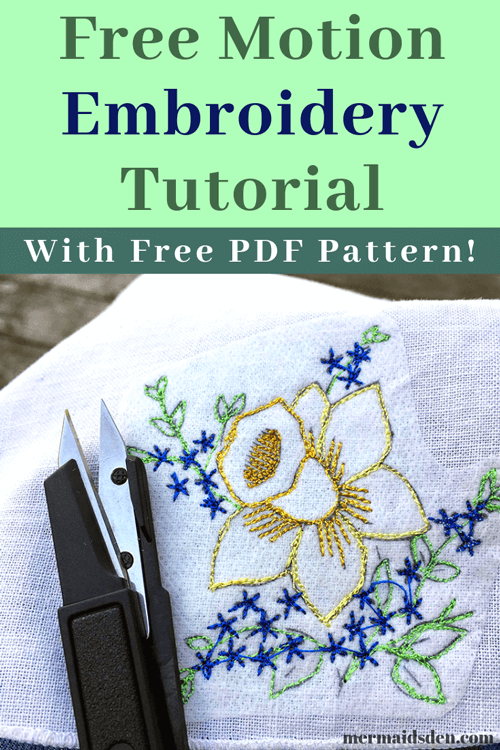
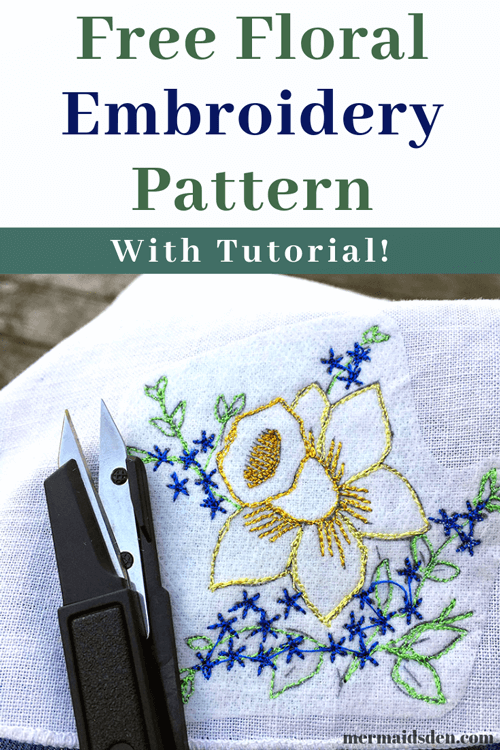
My stitches were dense enough that it was fine to just trim away those strands between each flower with my Gingher thread snips. I didn’t have any problems with the flowers unraveling after I trimmed those threads.
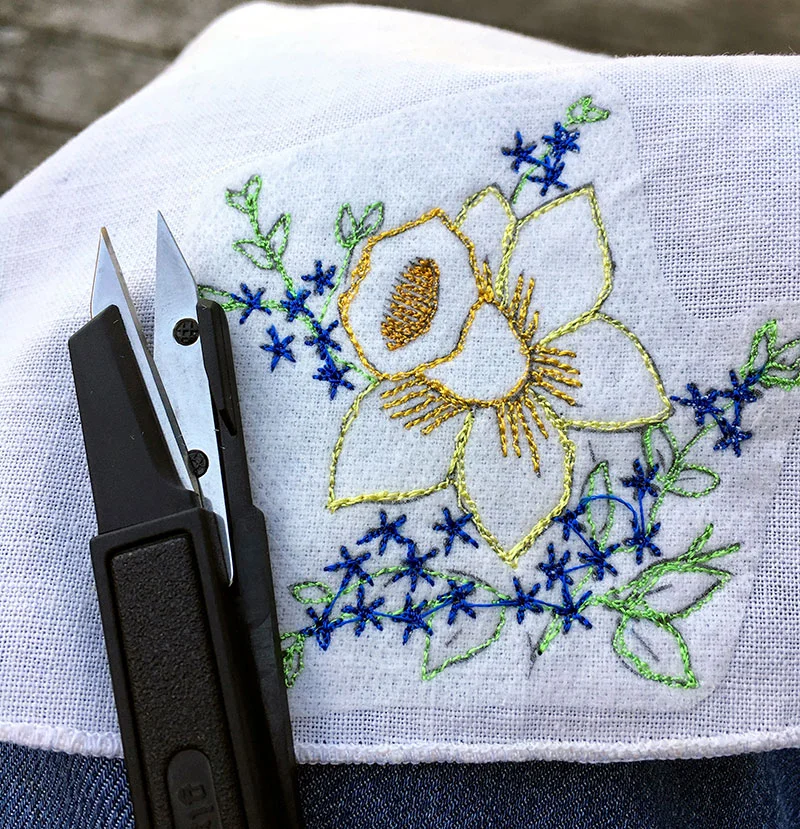
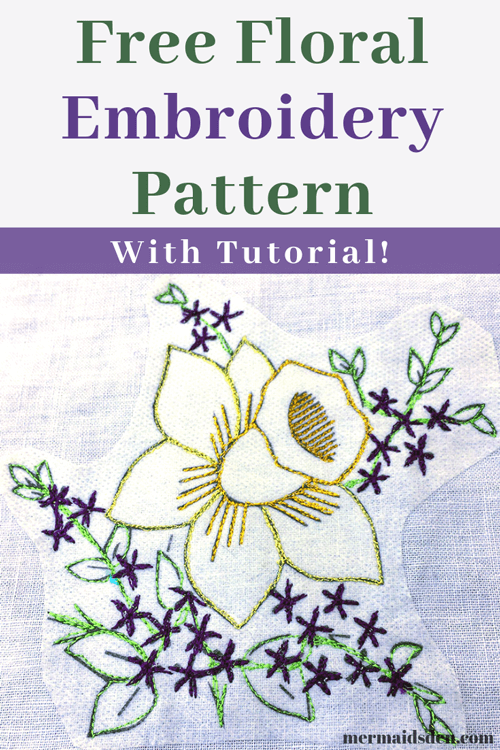
I decided to do three different colors for the small flowers, just to break up the color palette a little. I like how this turned out.
Removing the Transfer Paper and Stabilizer
I hand washed the finished placemat in lukewarm water to dissolve the Sulky transfer paper. It washed away easily.
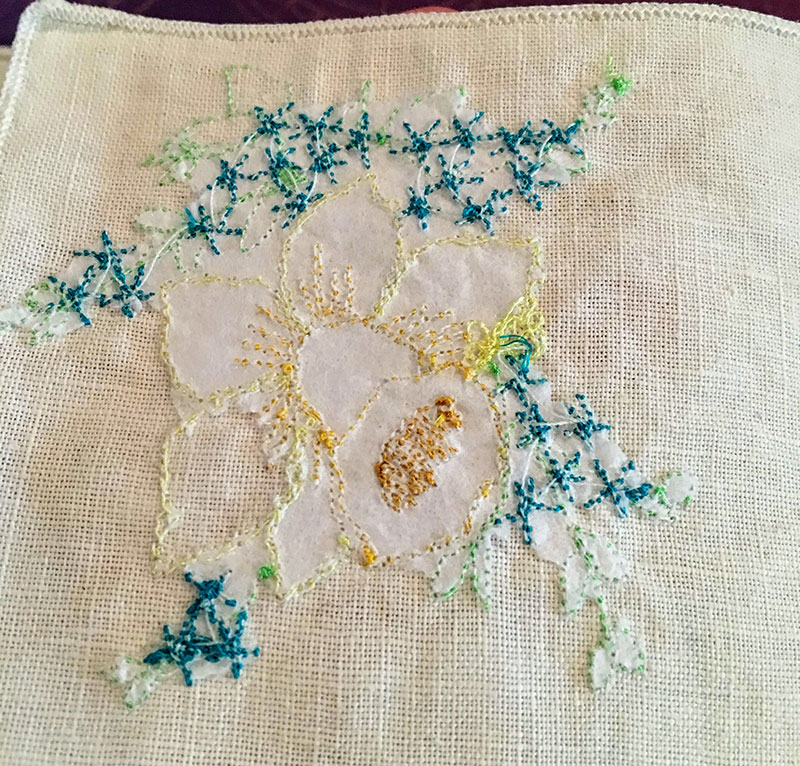
I manually peeled off the tear-away stabilizer, but as you can see below, it was difficult to remove all of the tear-away stabilizer because there were so many nooks and crannies in the embroidered pattern. I probably wouldn’t use the tear-away stabilizer next time.
The Finished Piece
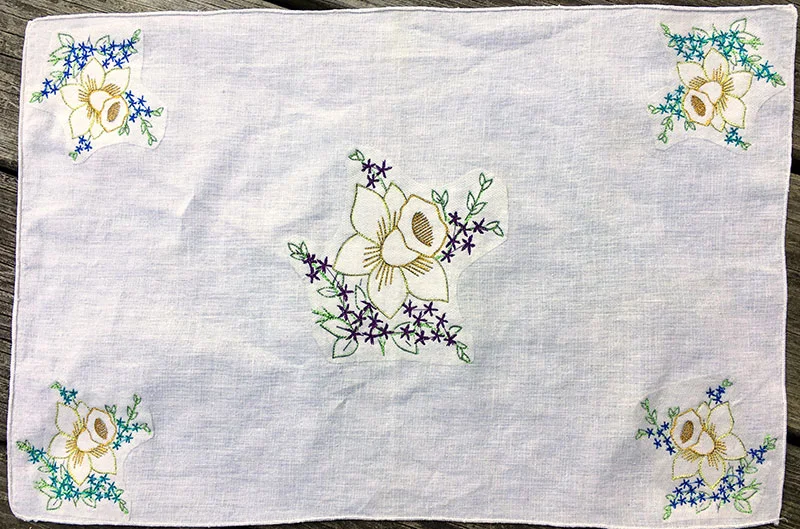
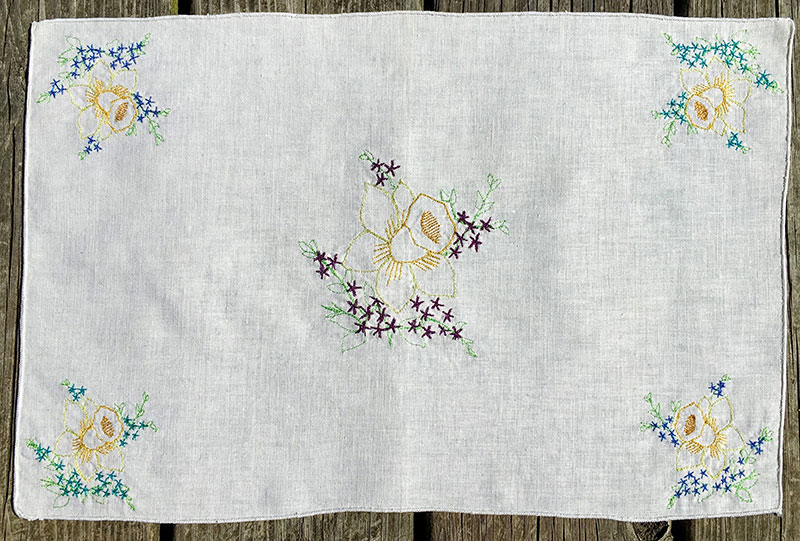
The final piece is a little more muted without the black lines underneath the stitching. I also found that the rayon thread lost its sheen after being washed. As it is now, the piece looks like it’s a vintage embroidered placemat that’s been around for a while already.
If I wanted everything to pop more, I could go over it all again, following the previous thread paths. To avoid losing the sheen on the thread, I might try a polyester blend next time, rather than rayon.
I didn’t realize this until afterward, but rayon can be a finicky fabric/thread to work with, and it can change like this after being washed, which is why a lot of rayon clothing is dry clean only.
Free Embroidery Pattern
As mentioned earlier, I digitized this pattern from a vintage paper pattern I found at an antique shop. If you like this pattern, let me know in the comments! I have plans to digitize and post a few more of them.
I used the large daffodil on the center of my placemat and the small daffodils in the corners.
Want More Embroidery Projects?
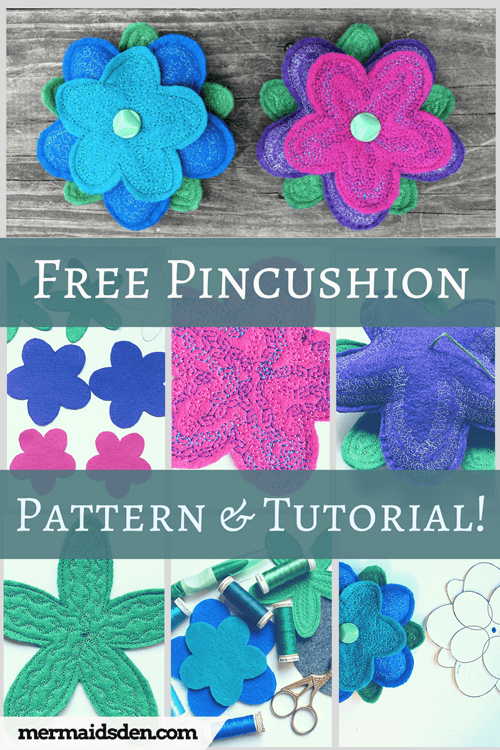
Check out my tutorial on making an embroidered pin cushion, as well as these embroidered ornaments.

And check out my Pinterest board on Embroidery for more inspiration as well.