


Using the Hem Guide Attachment for Coverstitch Machines
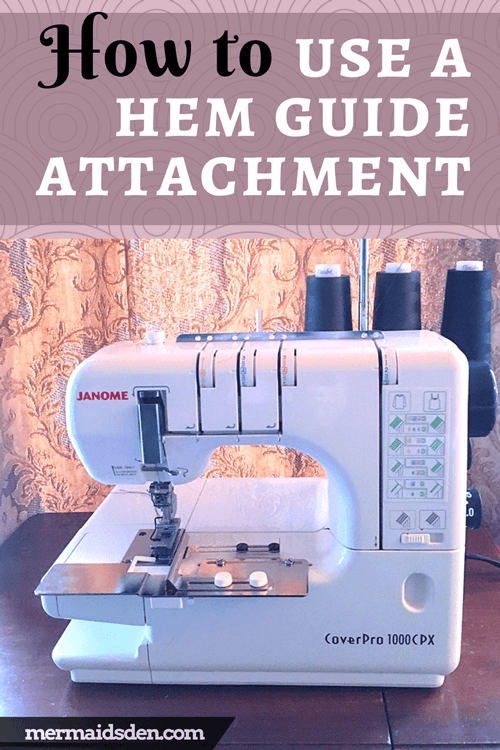
In my last post, I went over the basics of how to use the Janome Coverpro 1000CPX. The main reason I bought this coverstitch machine was for hemming, and while you can hem things without buying the hem guide attachment, it's so much easier with the attachment. If you buy only one attachment for this machine, I think the hem guide should be it.
Disclosure: This post contains affiliate links, which means I may receive a percentage if you make a purchase using these links. This won’t cost anything extra to you. I only link to things I like and use, and the proceeds help me to run this blog. Thank you for supporting me!
Materials:
Which Hem Guide Attachment?
I've linked to two different hem guide attachments above. At the time of writing this post, the more expensive one was around $99 and the less expensive one was around $20. I almost bought both, just to be able to give a good overview of why you should get one or the other, but ultimately, I ended up buying the more expensive one.
While both of them have good reviews on Amazon, the cheaper one looked like it had fewer features for holding the fabric in place, and I couldn't find any instructions online for how to use it. See cheaper version below:

The more expensive one, while costing a lot more, looked like it would do a much better job of holding my fabric in place for hemming, since it has guides and slats to hold down both the top and bottom layers of fabric, plus it has a release lever to move the bottom fabric guide out of the way if you're sewing in the round, so you can easily overlap your stitching. See more expensive hem guide below:

Several reviewers mentioned having both, and they said that the more expensive one was the better option. If there's a lot of interest in this post, I may buy the other one to test it out, just to see how much of a difference there is.
Why Get a Hem Guide Attachment?
For hemming, the Coverpro manual notes that you can draw a line on the top of the fabric to mark the seam. Ideally, you want the looper stitches to fall just on the raw edge of the fabric on the inside, but it's tough to sew along just the right spot, since you can only see the top of the fabric, where the straight stitching occurs.

How to Attach the Hem Guide
I mentioned in my last post that the Coverpro 9000CPX has only two needles, while the 1000CPX has the capacity for three needles. Thus, you have to be careful when purchasing presser feet, since the feet for the 9000CPX are only designed with room for two needles, and they cost slightly less than the presser feet for the 1000CPX.
However, this attachment sits at the edge of your machine, so it can work with either the 9000CPX or the 1000CPX. I expect it will also work with the 2000CPX, but I'm not 100% sure about that.
You'll notice that there are four holes along the side of the Coverpro. Attach the hem guide to two inside holes. Once you've attached it here, you won't need your screwdriver for any of the other adjustments.

How to Use the Hem Guide Attachment
See this video from Janome on how to use the hem guide attachment.
When I first got the hem guide attachment, I had trouble finding the instructions that came with it. This cardboard insert opens up--it's stuck together initially, so you'll need to pry it open.

Here are the instructions once you open it up:

You can also open the door to your machine with this attachment, so you won't need to remove it any time you want to re-thread your coverstitch machine.

Here you can see the fabric guide on the left underside of the attachment, which keeps the fabric feeding nice and evenly.

And here you can see the fabric guide on the top right side of the attachment. It's very difficult for the fabric to wiggle out of these guides. It pretty much has to give you a perfect hem. I'm going to leave my attachment set up for a 5/8" hem, since that's the most common seam allowance for most patterns. If you want different sized hems, you have to readjust your fabric guides each time.

How to Prepare Your Fabric
I like to use the Dritz hem gauge to get a perfect 5/8" fold along the edge of my fabric.

You might be wondering, do I really have to iron the fabric? Won't the hem guide attachment hold it in place for a 5/8" hem? Well, let's see what happens.
I ironed this piece of fabric before coverstitching it. The looper stitches perfectly cover the raw edge of the fabric.

I didn't iron this one, just to see whether the attachment would hold the fabric in place well enough as is. The looper stitches are just a smidge off from the raw edge of the fabric. If you don't mind having the fabric unravel a little bit on the inside of your projects, you might be able to get away with not ironing your hem ahead of time.

Hemming Samples
Overall, the hem guide attachment does a great job helping you hem things with the Coverpro, but you can see that I managed to veer off course slightly on the top hem below, so you do want to make sure you hold onto your fabric and feed it carefully.

Overall, the hem guide did a great job creating a nice, even hem with looper stitches perfectly covering the raw edge on the wrong side of the fabric


Final Thoughts on the Coverpro Hem Guide Attachment
In several reviews of the Coverpro, people mentioned that the clear presser foot was a must-have. I think this hem guide is the must-have attachment. I've thought about getting the clear foot, but the hem guide attachment helps you to feed your fabric just right for hemming, so a see-through presser foot won't add much value, especially since it's the bottom layer of fabric that you really need to keep lined up carefully.
I mentioned in my last post that the cost of the attachments and presser feet for the Janome Coverpro 1000CPX were off-putting. I will probably slowly build up my collection and watch for sales, but I do think this hem guide attachment is the best investment to start with. It was difficult to hem anything without it. Also, when I received the hem guide attachment, the Amazon seller gave me a coupon for 5% off my next purchase. It's not a huge discount, but it'll help.
More Tutorials and Information on Coverstitching
See my Serger and Coverstitch board on Pinterest for more coverstitching tutorials and tips.


